How To Clean An Old Wall Mount Gas Heater
Modern technology has brought in a lot of new and well-designed products and when we talk about hectares they have become very useful.
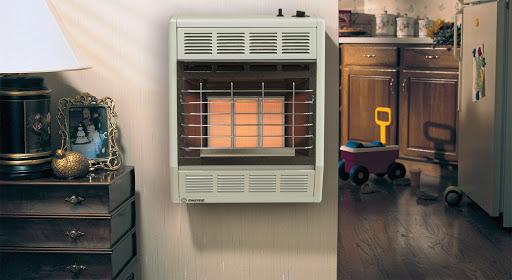
Even after all these well-featured heaters and their presence, many people still love to use their old Wall Mounted Gas Heater. These heaters are still very popular among the people and they still love how well they can work. People are reluctant to change and when it is about their loved heater they do not want to. Two major things are the most important factor that contributes to the using of old wall mount gas heater.
The first reason is the most understandable as these gas heaters are still one of the most affordable options available out there and the second reason is that these heaters are very easy to maintain. When I speak about maintenance here all you need to do is keep them clean if you want them to last longer without any issues. The cleaning of these heaters is so easy that you can do it all on your own without needing any help from an expert.
Old Wall Mount Gas Heaters are commonly installed in one of the corners of your rooms and the power source of these heaters are mostly gases. They are very useful and also perform well. Though cleaning can prove to be simple, it is important to ensure smooth operations are conducted very regularly and carefully for a long time, primarily in areas where weather and sandstorms are vulnerable to fluctuating.
Today we are going to look at how you can clean an Old Wall Mount Gas Heaters. We will also look at the problems that can occur if you do not clean your heater regularly. The most common problems along with the ways to troubleshoot them are also mentioned by me. If you own an Old Wall Mount Gas Heater then you must read this article and it will provide a lot of knowledge about these heaters to you.
Cleaning an Old Wall Mount Gas Heater
Cleaning of an Old Wall Mount Gas Heater is very simple and you also won’t have to put in a lot of effort for doing this. It is very important to keep your heater clean if you want them to last with you for a long time without any errors.
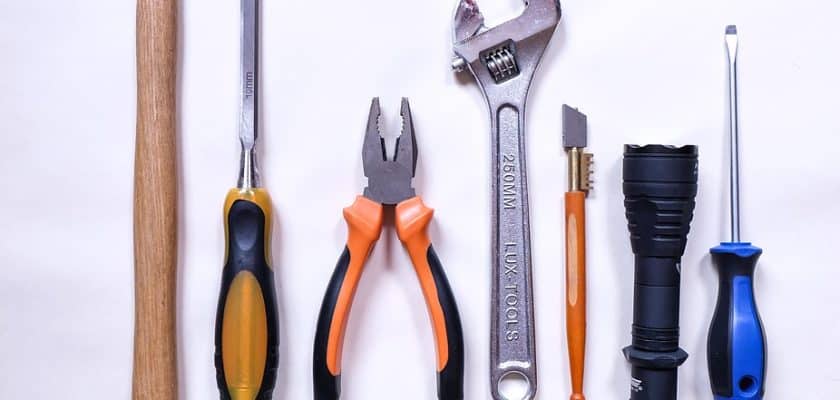
Tools and equipment needed
- 1 screwdriver (If required)
- A small vacuum cleaner that has got a hose. (handheld one would make things simpler)
- Air blower (if you do not have a vacuum cleaner)
- 1 toothbrush or normal brush
- Soap (dishwashing soap)
- Lint-free cloth (2 pieces needed)
- 1 bucket
- Sponge
Make sure there aren’t any chemicals included. If chemicals are being used then it will cost you to when chemicals are used they leave residue on top of heaters and they also tend to release toxic fumes.
Steps for cleaning
Step 1
We all know the first step to do when we talk about cleaning and troubleshooting a gas and electrical appliance is to turn it off. Safety is very important so you must turn off the gas and the heater too. Let the heater cool down for some time.
Step 2
Make sure the radiator has cooled down and came to room temperature and once you find the radiator has been cooled down then find the main breaker panel as the fuses are located there.
After this, you need to cut the power supply off and this can be done by turning off the breaker switch. You also need to turn off the gas valve by finding it. This gas valve is commonly found behind the wall inside the panel or in the basement. If you find it you have to pull the lever off and ensure there’s inst any kind of gas flowing anymore.
Step 3
Now you have to remove the outer grill that is available on the wall-mounted heater. Take a screwdriver as it is now time to unscrew the cover that is on the top of the heating unit. You can follow the instruction manual while doing this.
Most probably you are going to find 4 screws which are located at the corner. Find them out and unscrew them one after another. Now remove the cover from the top. In some heaters, you need to pull off the knob first before pulling the cover.
Step 4
Now the next step is detaching the unit. You need to detach the unit and then take it out in a sink and then start cleaning. Make use of a brush to remove the dust particles and other debris.
Get a sponge and dampen it with warm water, use the sponge to clean the front and the backside of that grill thoroughly. This will remove all the dust and dirt stuck on it. During this operation do not use any chemical or flammable cleaning materials, which could damage both the filter and the machine. With a smooth, lint-free fabric, remove the water outlets. Give it time to dry in a less damp environment under the shade.
Step 5
Now comes the vacuum cleaner, take a vacuum cleaner to clean the device properly. You need to plug the vacuum cleaner in and attach the brush onto the end of the hose as this will help you pull all the dirt, dust, and debris out.
You can also take the help of a small toothbrush to get rid of the dust and dirt accumulated at the corners if required.
Easy way to clean a vent free gas heater pilot light
Cleaning a pilot can only be easy when you have all the required types of equipment with you.
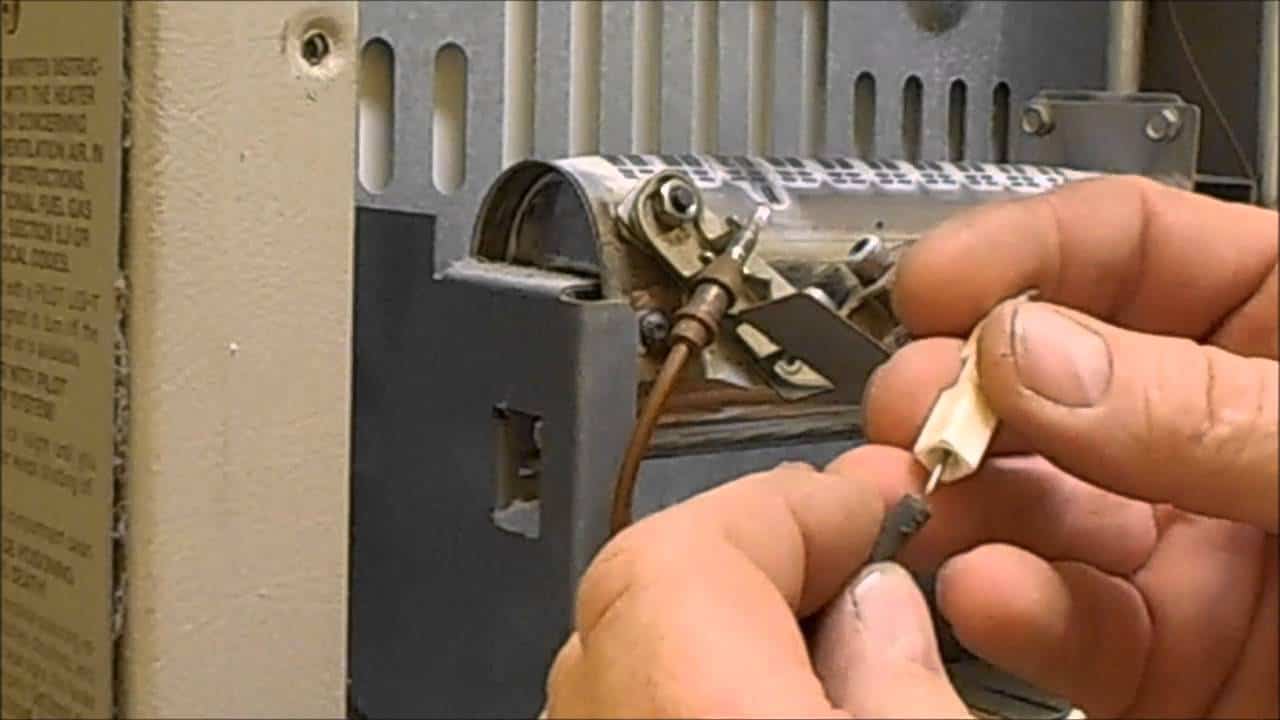
It is recommended not to be harsh with the pressure which shouldn’t be more than 100 PSI. There is a fiberglass tube present inside the body of the pilot. There might be a great risk of busting the orifice if you extend the pressure above 100 PSI. this will create a huge flame which won’t be good and you would always want to avoid that.
You’re going to see a little nut here down follow the pilot tube. Loosen the nut up. It should not be very tight and can be separated with a soft twist in some situations. Place the vacuum nozzle at the bottom of the tube and enable the vacuum to suck all particles from the container for a few seconds. If you think that you are done doing it properly then replace the nuts and the tube with the original positions as they were earlier.
Step 6
Once the grill is properly dry you need to make sure you adequately replace it inside the wall-mounted heater and also you need to put the cover back to its original place. Use a screwdriver to tighten the screws to their original place.
Take a lint-free cloth and try to clean the surface of the grill. You are now done cleaning the heater now you can finally turn the electricity and gas connections on and enjoy the heater.
Common problems that take place when an Old Wall Mount Gas Heater is not cleaned
Wall mount heaters require cleaning if you want them to work properly and effectively. You need to clean them at least twice a year and this will also increase the durability.
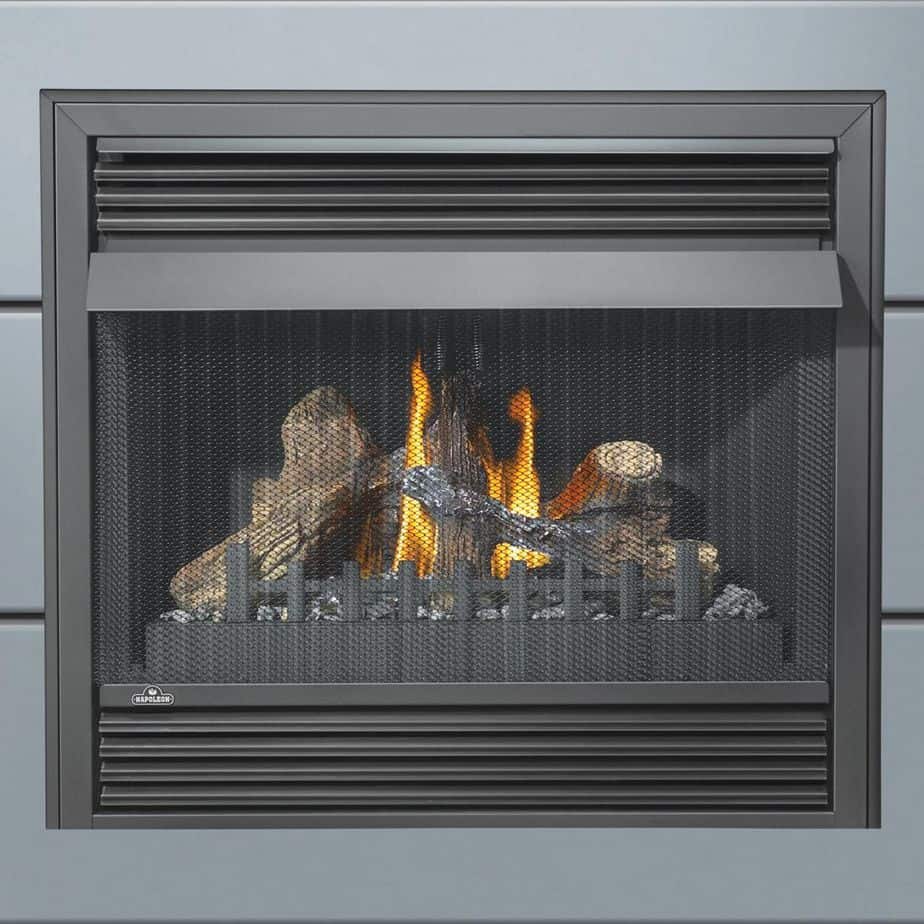
If you do not pay attention to the cleaning and maintenance of your wall mount heater then it will cause problems to the heater and also affect its ability to perform in the long run. In case you do not use the heater for a long time and after that, you turn it on it will release a burning smell. This is nothing but the dust and the debris that is stuck and needs to be cleaned out.
You should ever avoid this as it may result in major hazards too therefore it is recommended to avoid such troubles in the first place itself. If there is no cleanliness then this can be one of the major problems for your inconvenience. We will possibly attribute it to lack of cleanliness if your heater is relatively new and you experience such irritable habits, like a heating brick that is not as it should be.
If there is a proper supply of propane to the heater and it is still not getting the right amount of oxygen required that burns one of the bricks then it might turn out to appear blue. This is certainly a sign that something isn’t right. To fix this it is needed to be cleaned up. While opening the panel if you find a lot of dust then it is clearly an indication that it requires proper cleaning. If that doesn’t work then you need to ask the help of an expert.
Best features of Wall Mount Gas Heaters
Wall-mounted gas hectares are one of the most effective solutions for heating an enclosed space. They are very useful and available in a very good shape and design. They don’t take a lot of space.
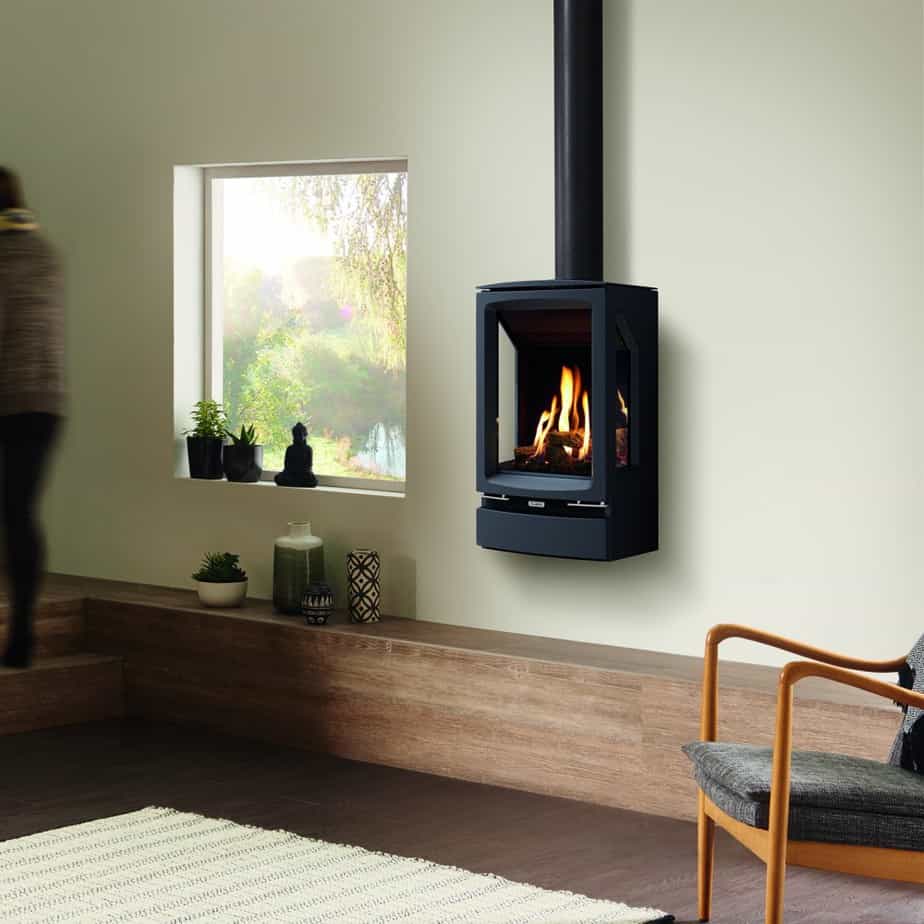
These types of heaters are available in both vented and unvented versions. They are very powerful and they can easily supply sufficient heat that can easily warm up a room of medium size. They work very quickly and turn a cold room into a warm and comfortable one in a few minutes. They are also available in electrical versions they are most probably dependant on propane or other natural gases.
These heaters are extremely useful and they can also be fixed easily. All you need to do is follow some easy steps. Not all the errors that happen with a wall mount gas heater are due to cleanliness.
Troubleshooting Wall Mounted Gas heaters
Wall-mounted heaters are very useful and they provide warmth to the whole room. Vented room heaters are somewhat similar to water heaters that are present in your home.
The pilot is the same in both of them. It is a flame that keeps on burning throughout as long as the heater is on. There are many features in them for safety and other convenience. As these are appliances they tend to get into troubles and errors.. When they stop working in a proper way you need to check a few things and the best thing about wall-mounted gas heaters is that they can be easily fixed with some littles checkups and steps.
I have mentioned some of the things you can try for troubleshooting your wall mounted gas heaters. These are some of the most common things that happen with a wall-mounted gas heater and how to overcome them.
The pilot doesn’t work (light up)
There might be such situations where you may have noticed that the pilot fails to light up. Even if you have installed the heater correctly and even after following the right steps such a thing can happen.
When such things happen the initial step is to check the supply of gas. The fuel source is to be checked whether it is duly filled. If you have a propane-based gas heater then you need to check the propane tank if there is enough gas or not. If the heating systems use natural gas to run then you need to check the pipeline if there is any kind of deterioration or leakages. If it is such then you need to replace the pipeline.
If everything seems fine then there are possibilities that the aperture might have got blocked. All you need to do is to clear it out. You can take the help of a needle to clear it out. You have to remove all the dust and debris near the combustion chamber. If you can disassemble the tube and blast the air to free the tube from the carbon that has obstructed the tubing, it will be easier.
If the Pilot gets Blown Out
If your pilot is not working correctly or you notice that it is constantly flickering or the flames are getting out on a regular basis then there is a chance that there is something blocking the pipe tube.
There might be several chances that the pipe is getting choked. This is generally due to insects that tried getting space in it. If after cleaning this your heater still doesn’t work then it might be the fault of the thermocouple which might be faulty. It is a small sensor that is positioned next to the pilot which helps to indicate whether the temperature is appropriate or not.
When the thermocouple is defective it won’t let the heater turn on. Normally, it will not stay illuminated whether it is unreliable or too far from the pilot. Under the heater, one potential solution could be sought and moved closer to the pilot. However, it will have to be patched in case the thermo-couple has worn out.
With the pilot being turned on, the burner still does not light up.
This is a common thing and it can happen due to two main reasons they are either the thermostat has some error or the wiring connections are done wrong.
If you notice that the temperature around the thermostat is warm or it isn’t cold enough the thermostat won’t anyway light up. This can be checked by turning up the flame. If you are done with doing this and it still doesn’t work then you can check whether the wiring connections are proper or not. There might be some issue with the wiring that is inside the thermostat box.
If you are unable to find any kind of wiring problems too then there are chances that the gas valve can be the issue here and you can replace it. This thing should be done under expert supervision or you can take help from a professional for this too.
The flame inside the pilot isn’t blue
When the pilot is working normally then the flame that it has is generally blue. If you are having a ventless heater and when the pilot gets light up the flames are yellow then it is an indication that your pilot light is needing cleanup.
When you notice the flame slightly yellow then this is happening just because of the changing of the atmospheric pressure this will certainly result in the shutting off your heater. Your heater will keep shutting on after staying lit for a few minutes.
If you are thinking of buying a wall-mounted gas heater then you can find the best ones below. All you need to do is click on the link and check the current price.
https://www.amazon.com/dp/B07JXRWJ8D
https://www.amazon.com/Dyna-Glo-Natural-Flame-Heater-White/dp/B07YBRJSJP/
Conclusion
Those Old Wall Mount Gas Heaters are still able to perform well and they are very popular due to their performance and also the price at which they are available.
Regularly cleaning these heaters is very important for them to work efficiently and therefore I have explained the steps that are required to clean the Old Wall Mount Gas Heaters. I have also mentioned some of the most common problems that are associated with these heaters and the best features that they offer. In order for the unit to remain functional during the harsh weather, cleaning and maintenance is an important exercise that must be carried out every few months.
In addition, make sure you take all safety precautions to maintain your safety. If you have any doubts, consult the manual or call an expert to help you with the process. I hope this article was useful and informative and now you know how to clean an Old Wall Mounted Gas Heater.
Reference
https://qlabe.com/heaters/how-to-clean-an-old-wall-mount-gas-heater
https://www.hunker.com/13415809/how-to-clean-an-old-wall-mount-gas-heater
